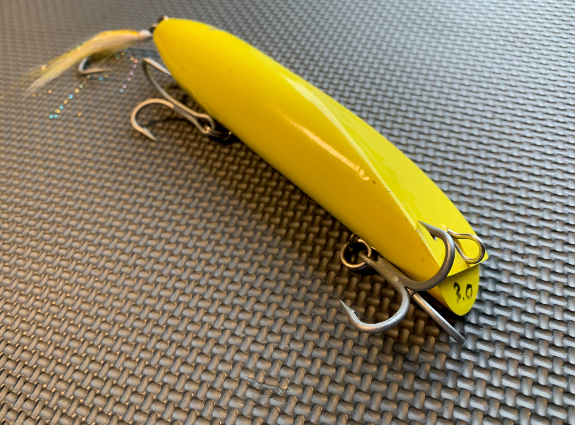
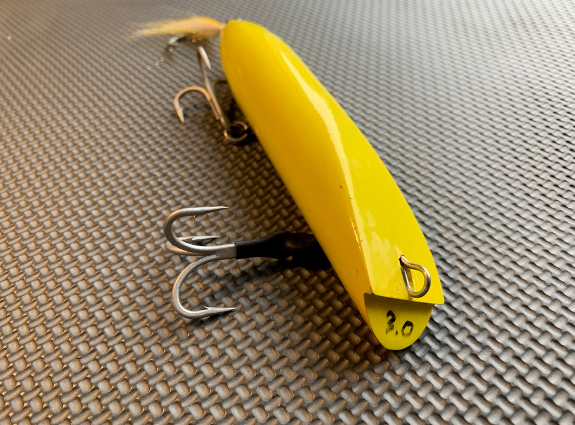
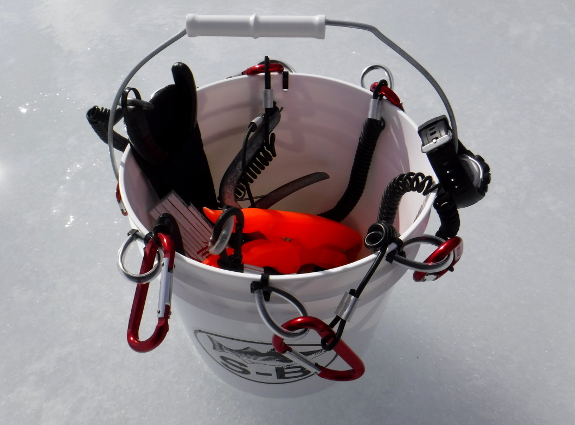
I like casting BIG wooden plugs into the surf. BIG wooden plugs do not fit in surf bags. Hence, I have built a side arm to carry my over-sized plugs. You can too!

STEP 1
Measure 3 1/2″ down from the top edge of the wider diameter end of the tube and make a mark. Cut this 3 1/2″ length off the tube via miter saw. Since the tube is tapered, insert a shim under it to level it before cutting.

STEP 2
Drill four 11/64″ holes equidistant along the interior of the bottom end cap.

STEP 3
Mark the height of the end cap on on the smaller diameter end of the tube. This is the bottom end.

STEP 4
Drill four 11/64″ holes equidistant below the marked height of the end cap on the side wall of the tube (bottom end). Be sure to align each hole with the corresponding holes on the bottom end cap.

STEP 5
Insert zip ties through a hole on the end caps and through it’s corresponding holes on the side wall of the tube. Repeat for the other three holes.

STEP 6
Drill four equidistant 1/4″ holes on the bottom end cap for drainage. Close the zip ties and cut the excess off via utility knife.

STEP 7
Drill two 5/32″ holes opposite each other on the interior of the top end cap. Drill two 11/64″ holes adjacent to each other on the center of the end cap.

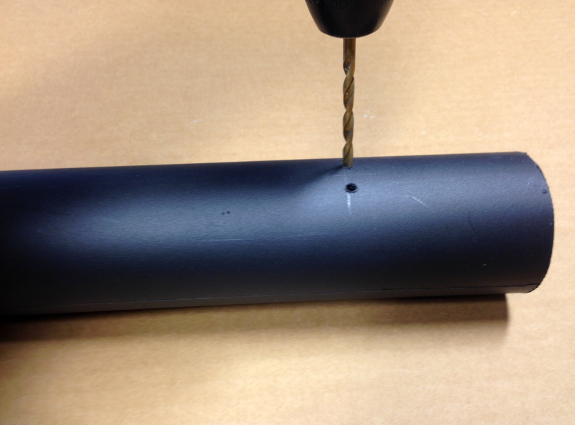
STEP 8
Measure 3/4″ from the top edge of the tube (larger diameter end) and make a mark. Drill a 5/32″ hole on the side wall of the tube just below the 3/4″ mark such that it aligns with the hole on the top end cap. Repeat on the opposite side of the tube.

STEP 9
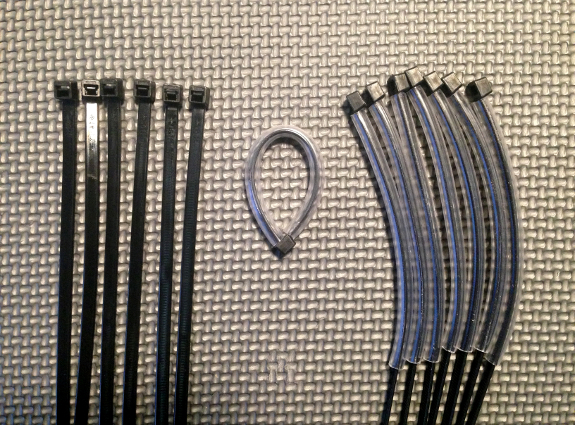
Passing a zip tie through a 5″ length of 1/4″ diameter vinyl tubing and closing the zip tie to form a loop. Cut the zip tie tip as close as possible via utility knife.

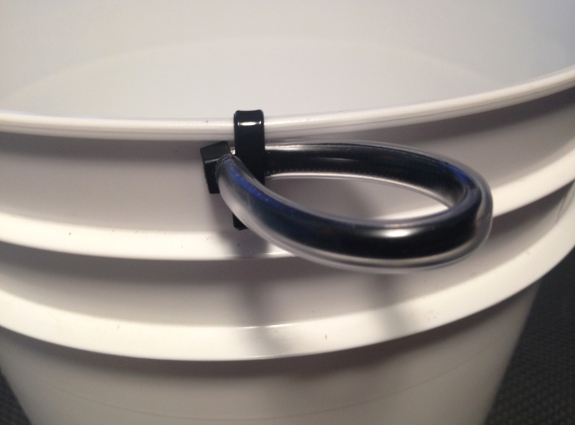
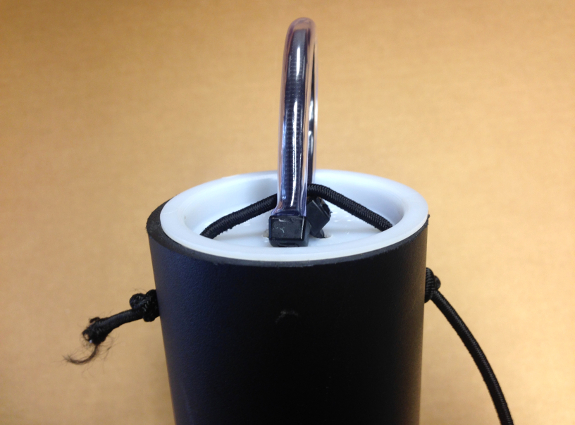
STEP 10
Secure the loop to the top end cap via zip tie by passing it through both holes in the center of the cap.

STEP 11
Put a knot on one end of the the 1/8″ diameter paracord. Pass the other end through one of the side wall holes on the top end of the tube. Continue passing the other end of the paracord through the correspoding hole on the top end cap, through the opposite hold on the end cap, and finally out through the other hole on the side wall. Tie a knot and cut the extra paracord 1/4″ above the knot.
STEP 12
Make another lop via zip tie and vinyl tubing. Clip the loop onto a medium sized carabiner. Measure and mark the total length of the loop and carabiner on the side of the top end.

STEP 13
Drill two 11/64″ holes opposite each other at this vertical mark.
STEP 14
Secure the loop to the side wall by passing a zip tie through both holes. Cut the zip tie tip as close as possible via utility knife. Clip the carabiner to the loop.

MATERIALS
TOOLS
- Safety Glasses
- Power Miter Saw
- Power Drill
- 5/32″ Drill Bit
- 1/4″ Drill Bit
- 11/64″ Drill Bit
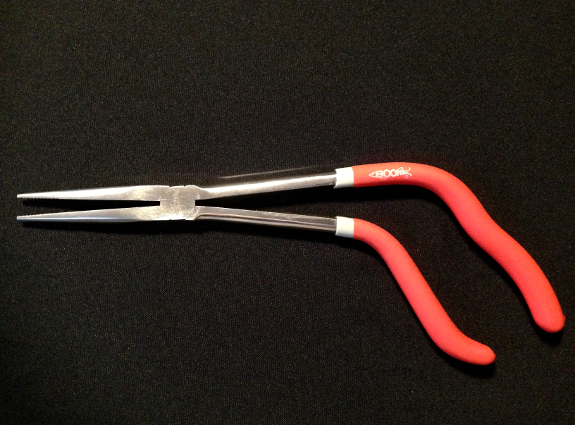
- Needle Nose Pliers
- Utility Knife